
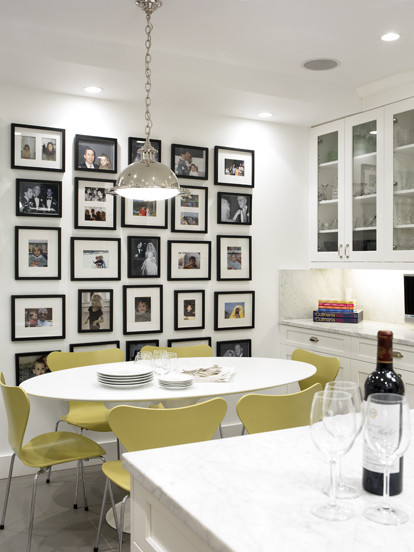
The family photo wall. What an awesome idea to devote an entire wall to your family.
But…
How are you going to frame the photos?
Are they going to be all the same frame or a mix of eclectic frames?
What if you can’t find enough of the same kind of frame?
Are you going to hang them in a grid pattern or some other design?
Will you take up the whole wall or a part of the wall?
If it’s only on a part of the wall are you going to have the design anchored above a piece of furniture?
What if you want to rearrange the room?
It’s enough to give you a headache, right?
By the time that’s all decided, the focus is more than likely going to be on getting through the project than it is about the family. Not to mention that now you need to pick out your favorite photos to hang up!
I often tell people when they’re considering a custom collage that not only does a collage get the photos out of your albums and onto the wall, it gives you the chance to display more photos than you probably ever would in your home in one beautiful piece of artwork.
What if you could have a photo wall without buying a single frame or pounding a single nail?
What if you could display more than an entire album’s worth of photos without having a massive wall to hang them all?
I never asked myself these questions until a client proposed a project for his lakehome: a family photo collage wallpaper.

After the client met with his family to gather over 250 photos and clippings from several photo albums, some of which dated back to the late 1800′s, he met with me and we sorted through everything. In most instances clients send me their photos, but when we’re working with fragile/old photos and a large quantity, it’s easier to meet in person. We discussed what could be narrowed down as well as what the significance was of some of the photos so I could begin to visualize placement within the collage. The concept was to have a grayscale collage that looked like a soft pattern from a distance but revealed family photos when viewed closely.
After about 65 hours of work which included scanning, photo restoration, and the creation of the collage, everything was in place and ready to print. I brought the almost 5GB file into the printer and later that week approved a small color proof. The lakehome is about 2 1/2 hours north of the Twin Cities, so on the day of installation I drove up to meet the installer and the client to make sure everything went smoothly and to document the process.
The installation went smoothly but….
…the print was too big.
And it was GREEN.
Like mint chocolate chip ice cream green.
When I photographed the piece, though, it looked fine. What my eye saw and what the camera saw were two different things. The client was dismayed & I was baffled. I acknowledged that the print being too big was my fault as I had no idea how much bigger I needed to make the piece in case the measurements were off, but I had no clue why it was green. I know things can change from screen to print but this wasn’t even close to the same.
I assured the client that I would redo the piece as I never consider a project to be complete until the client loves it.
This required me to make a few trips up to pull the piece down and repair the wall. Ever pulled down wallpaper? It’s similar to that only it’s more like a giant sticker. It required a heat gun and a ton of patience.
In redoing the piece I learned that grayscale prints shift significantly in different lighting situations and that it’s one of the most difficult things to recreate. Imagine trying to create grey with 4 colors of paint. Pretty tough, right? That’s essentially what the printer is doing. Add to that that the collage was in a room that had a wall of windows so there would always be a lot of light and a lot of different kinds of light. Unfortunately that meant that it was going to be next to impossible to get a consistent grey look to the piece. It was disappointing, but one of those things that you just have to accept. I only wish I would’ve known that before I started!
The best we could do is print multiple samples, tape them up in the room so it could be viewed in different lighting situations, then choose the one that was the closest to what we were looking for.
After correcting the size and color and printing the collage again, we were ready for the second installation.

The widest the pieces can be printed is 48″ so I worked with the printer to divide up the collage so there were the least amount of seams across the wall. The first step of the installation is to tape up all of the pieces to get the alignment correct. Since walls are rarely square, this ensures that everything lines up correctly on the edges and that the piece won’t skew too much up or downhill during installation.

Next is the actual installation. The installer peels back parts of the backing a little at a time, trims it off, and adheres the vinyl to the wall. It’s an incredible process to watch because it requires constant smoothing to make sure it lays flat and there are no wrinkles or bubbles. The material is the same that is used in vehicle graphics and it’s designed to be durable and UV resistant.

Using an X-Acto knife, the installer cuts around the switchplate and outlet covers so they blend in.

The Completed Piece

Detail Close-Up
While this is much more permanent in your home than framing photos on a wall, it doesn’t have to be. There are now removable wallpapers that are ideal for renters or people looking for a semi-permanent option. You could also have the mural installed on to panels that could be removed and moved to a different location. I like the idea of it being more permanent, however, because it makes the house more of a home. It says, “this is our family and here is where we gather and grow together.”